

The quilt measures 21" x 27" and is currently untitled.
(I'm in the USA)

(From an Instagram post in late March)
When I first saw the color of the year back in January, I immediately wrote it off and decided not to participate in this years challenge. I like brown in small doses and for specific elements in a quilt, but I wasn't sure if I wanted to make a whole quilt dedicated to the color of the year. In the end, I decided to just see if I could come up with anything promising.
As you can see, I most definitely did!

I know you must be wondering how I ended up with this design after being positive I wouldn’t be able to create something visually pleasing with this…um…*lovely* brown. Well let me tell ya, it was rough…for about 2 hours…until I decided that a quilt with botanical elements and a Scandinavian feel would be fun.
Once I had an idea forming in my head, I spent a few minutes on the Google, looking for inspiration that helped me to solidify the idea. Then I went to Inkscape (design program similar to Adobe Illustrator) and started just drawing every design I could possibly think of. I kept adding new elements and shifting them around until I started to like the feel of it. And then I tweaked and shifted and added new elements until I finally decided I liked it. Below is a little sampling of the different iterations I went through. When I showed my final design to my husband, he told me he thought that the blocks with the straight lines didn't go - but those are my favorites so I had to keep them!

When I was finally satisfied with the design, I saved all the different elements as individual SVG cut files and cut everything out on my Silhouette Cameo. I love that thing! It makes cutting applique shapes so easy and precise! Before cutting, I backed my fabrics with Pellon 805 (Wonder Under lightweight fusible web) and then peeled off the paper backing before sticking the fabric (fusible side down) to the cutting mat.

I made a little "pattern" for myself so I knew which pieces went where. And once I had all the shapes cut out, I used a light table and a printed outline of each block (on the left in the photo above) to help with positioning everything on my piece of white fabric.

My finished quilt turned out pretty much how it looks in the digital image - but it never translates perfectly into fabric. I always end up cutting some pieces a couple times in different fabrics to see which looks best. I started with a pile of different browns and whittled it down as I went.
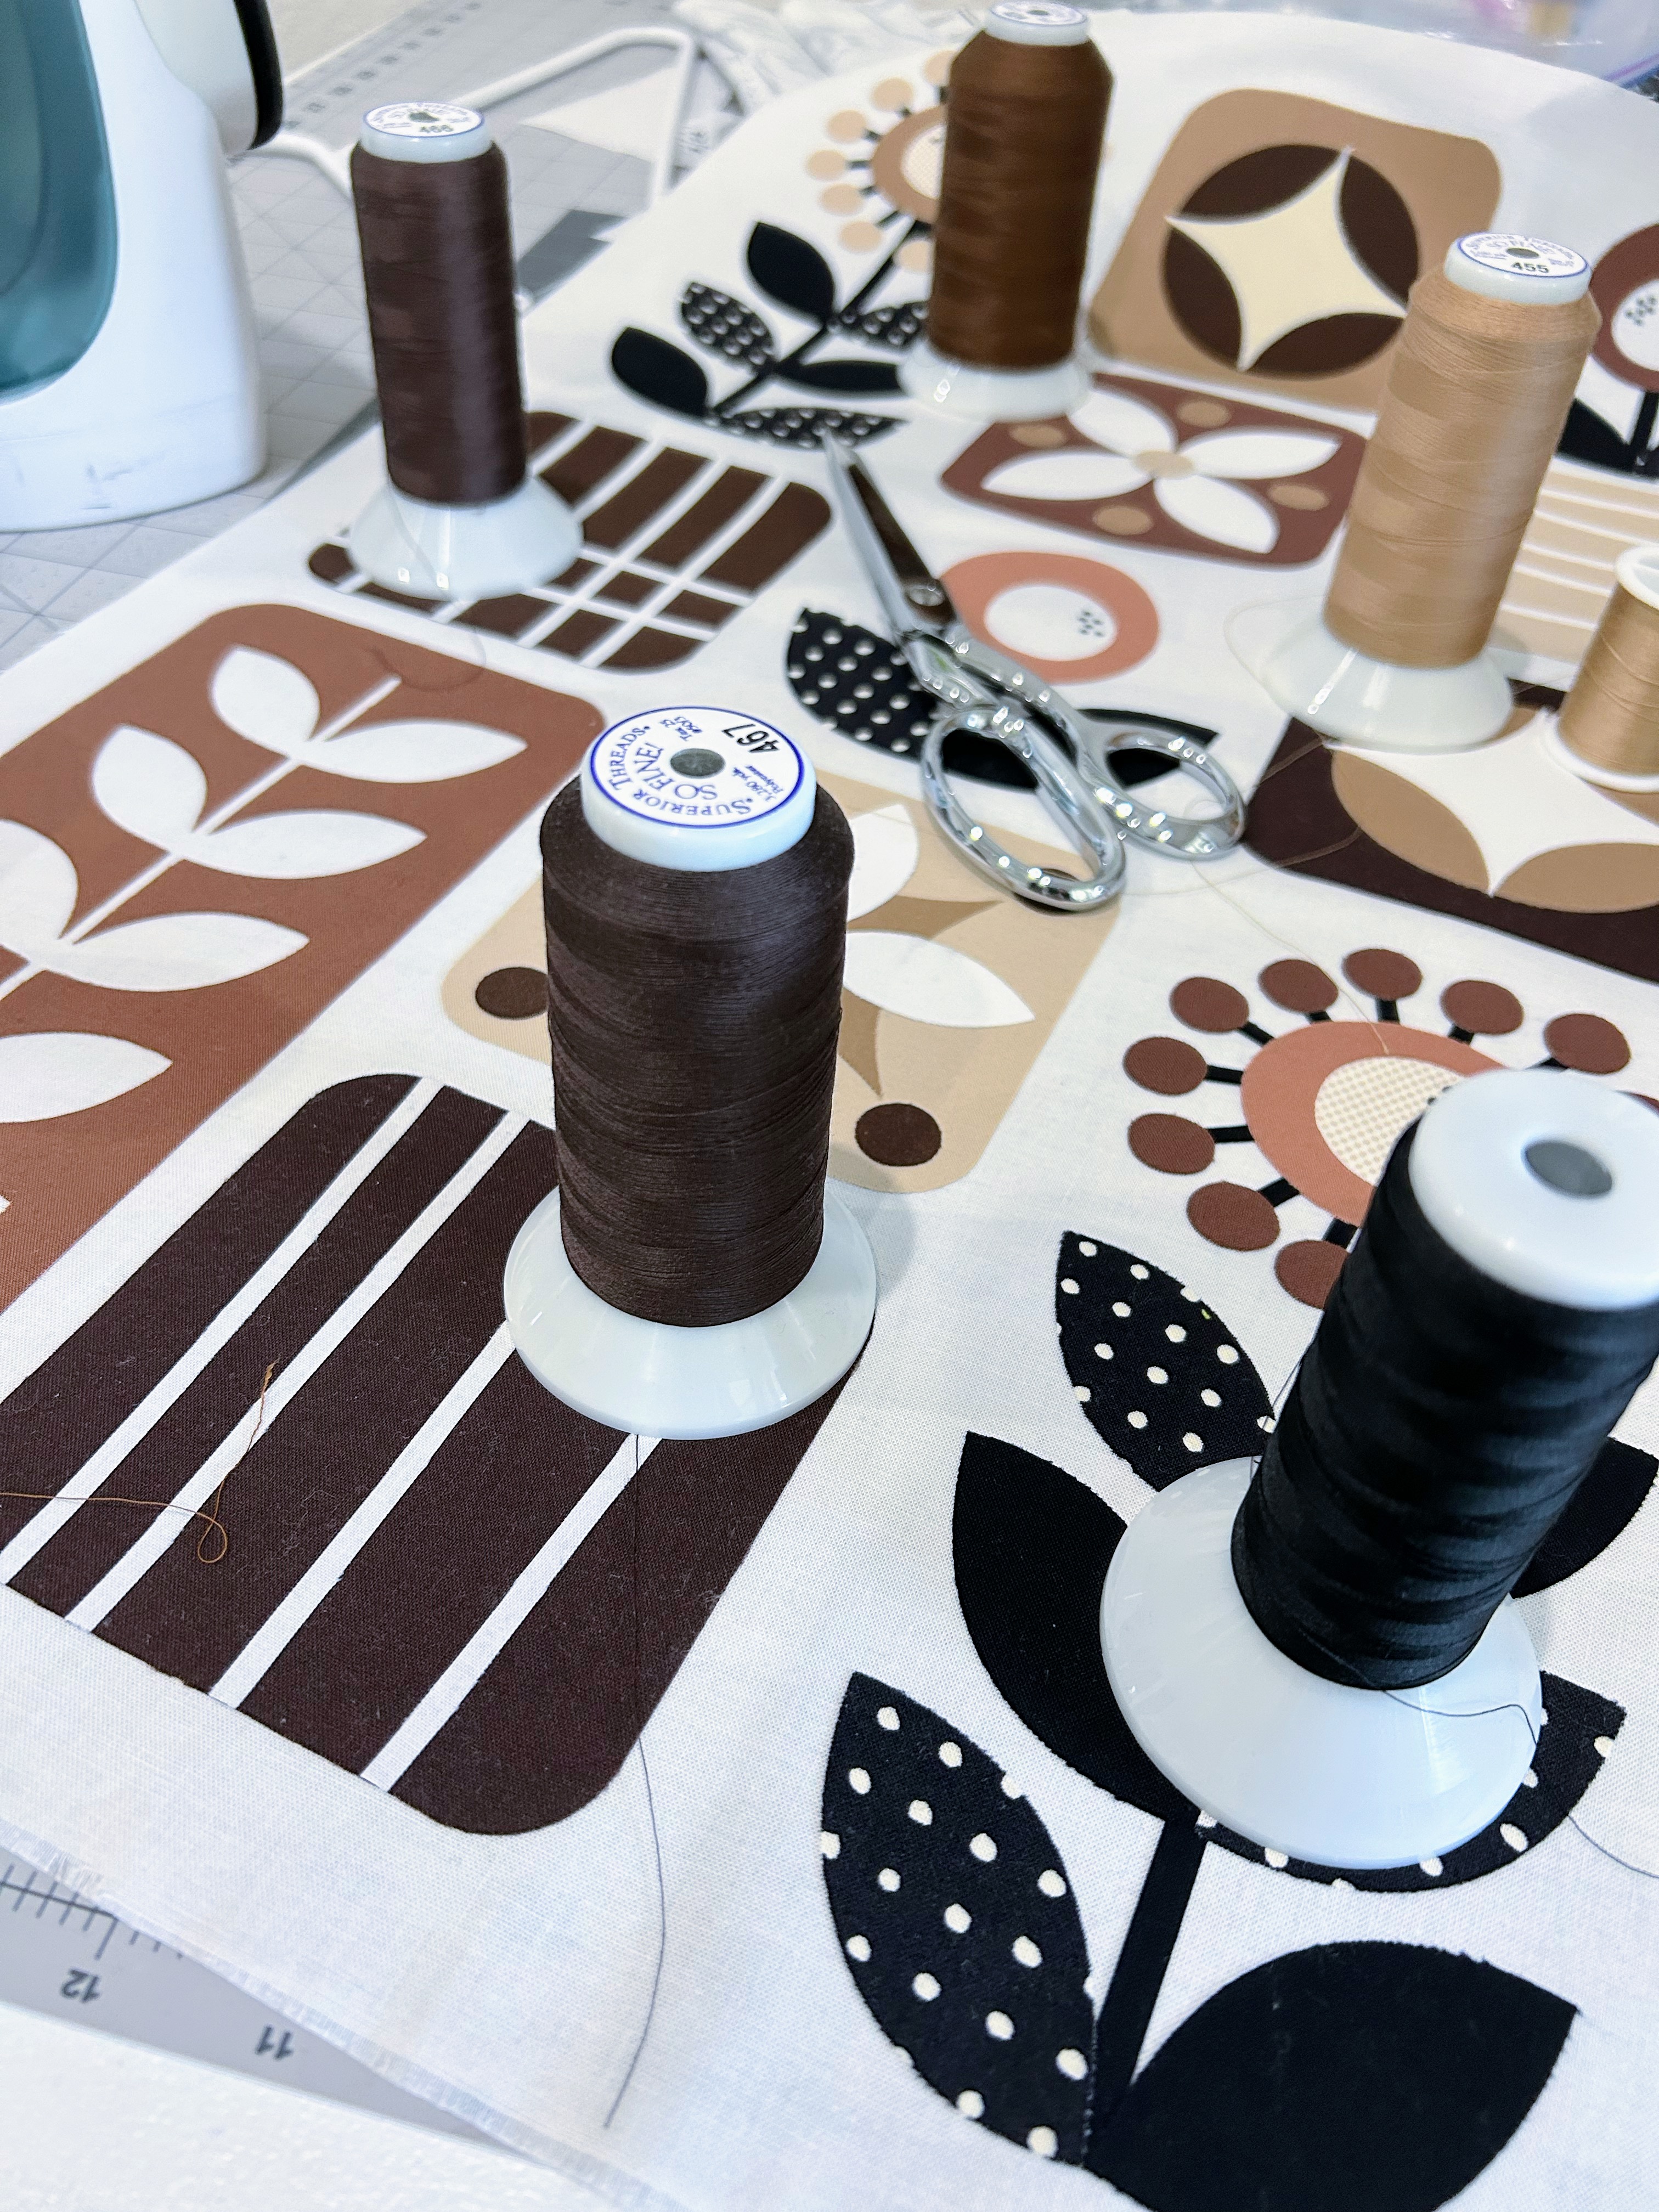
I like to stitch appliqué shapes down in matching thread with a blanket stitch. For the smaller shapes (like the tiny circles) I just used a straight stitch so it didn't take forever. Somehow, I happen to have a ton of brown thread so it was pretty easy to match everything!

I wanted to add some black embroidery stitching to give it a little more interest - so I stitched the black lines around the flowers and French knots in the center of the flowers. It was so fun to do - if I'd had more time I probably would have done more embroidery in other colors on some of the blocks, but my procrastination ruined that! Rather than use my usual blue water-soluble marking pen to mark the stitching lines, I used a black fabric pen (Pentel Gel Roller for Fabric). This made it easier to hide the imperfections in the stitching. The bottom of a thread cone was the perfect size for tracing the circles too! Love it when that happens!
When it was time to quilt it, I briefly considered an all-over design. But since it is such a small quilt I thought it would look better if all the appliques were minimally quilted around the edges. It only took a minute to decide on a background filler design. Since I had decided to use repeating circles and the orange peel shape a lot, I decided a continuous circle with the little star shape between the circles would work. It is a little tricker to quilt out a background filler like that around all the shapes, but worth the extra trouble, I think!

When the quilting was done, I bound it with a black and white dot binding...every wall quilt in my quilting room has this same black-and-white dot binding (so they all kind of match each other).
I had so much fun making this quilt, and I am pleased with how it turned out! It will probably join most of my other Pantone challenge quilts on the wall of my studio! (See my past challenge quilts below.)
If you want to see more quilts from the Mocha Mousse Pantone Quilt Challenge, see them here: https://saroy.net/2025/04/pantone-quilt-challenge-linkup-time-3/

Thanks for Reading! :)
.JPEG)

.JPEG)
.JPEG)


